Have you noticed that you always have to compromise? Whether it is about home arrangements or work or even a project with kids.
About two years ago I bought a book Craft: techniques & Projects published by DK with lots of idea for craft. I think it is an amazing guide to widen our activities with kids as I always like to learn new things and they do too.
Marbling attracted me also as an opportunity to expand my collection of unique scarves. I got one as a present from a Turkish friend. And as I always do began to think – can I do something like that? It should not be that difficult?! Or?!
I bought marbling colours almost straight away but could not source silk for my scarf’s project.
In August I was looking for a present for my son’s good friends – fantastic twins who loved craft, hence I found myself in the craft shop – I will use any excuse to get to the craft shop J. I bought for one the set for glass painting and for the second the set for marbling. And there on the cover there was an example of a project – marbled Easter Eggs! Ok, it is a long way till Easter, but hey, Christmas is around the corner, hence my plan of activities with kids – Christmas balls!
Which I sourced quite easily, the problem was with the tight schedule of kids who are extremely busy at school, after school clubs and socially – all the birthday parties they have to attend!
Yesterday while boys were at football I decided to try how this might work and after fifth attempt I had an idea how to guide the kids.
When they came home and I showed them results – they were excited to make … planets!!! Ooops. I thought we were making Christmas decoration! But does it really matter?!
Today was the day, in the morning we watched CBBies and it was a programme about the rabbit, which wanted to go to the moon!
Of course this was the best introduction I could imagine, and straight after the programme we went to make planets.
HOW TO MARBLE POLYSTYRENE STARS AND BALLS
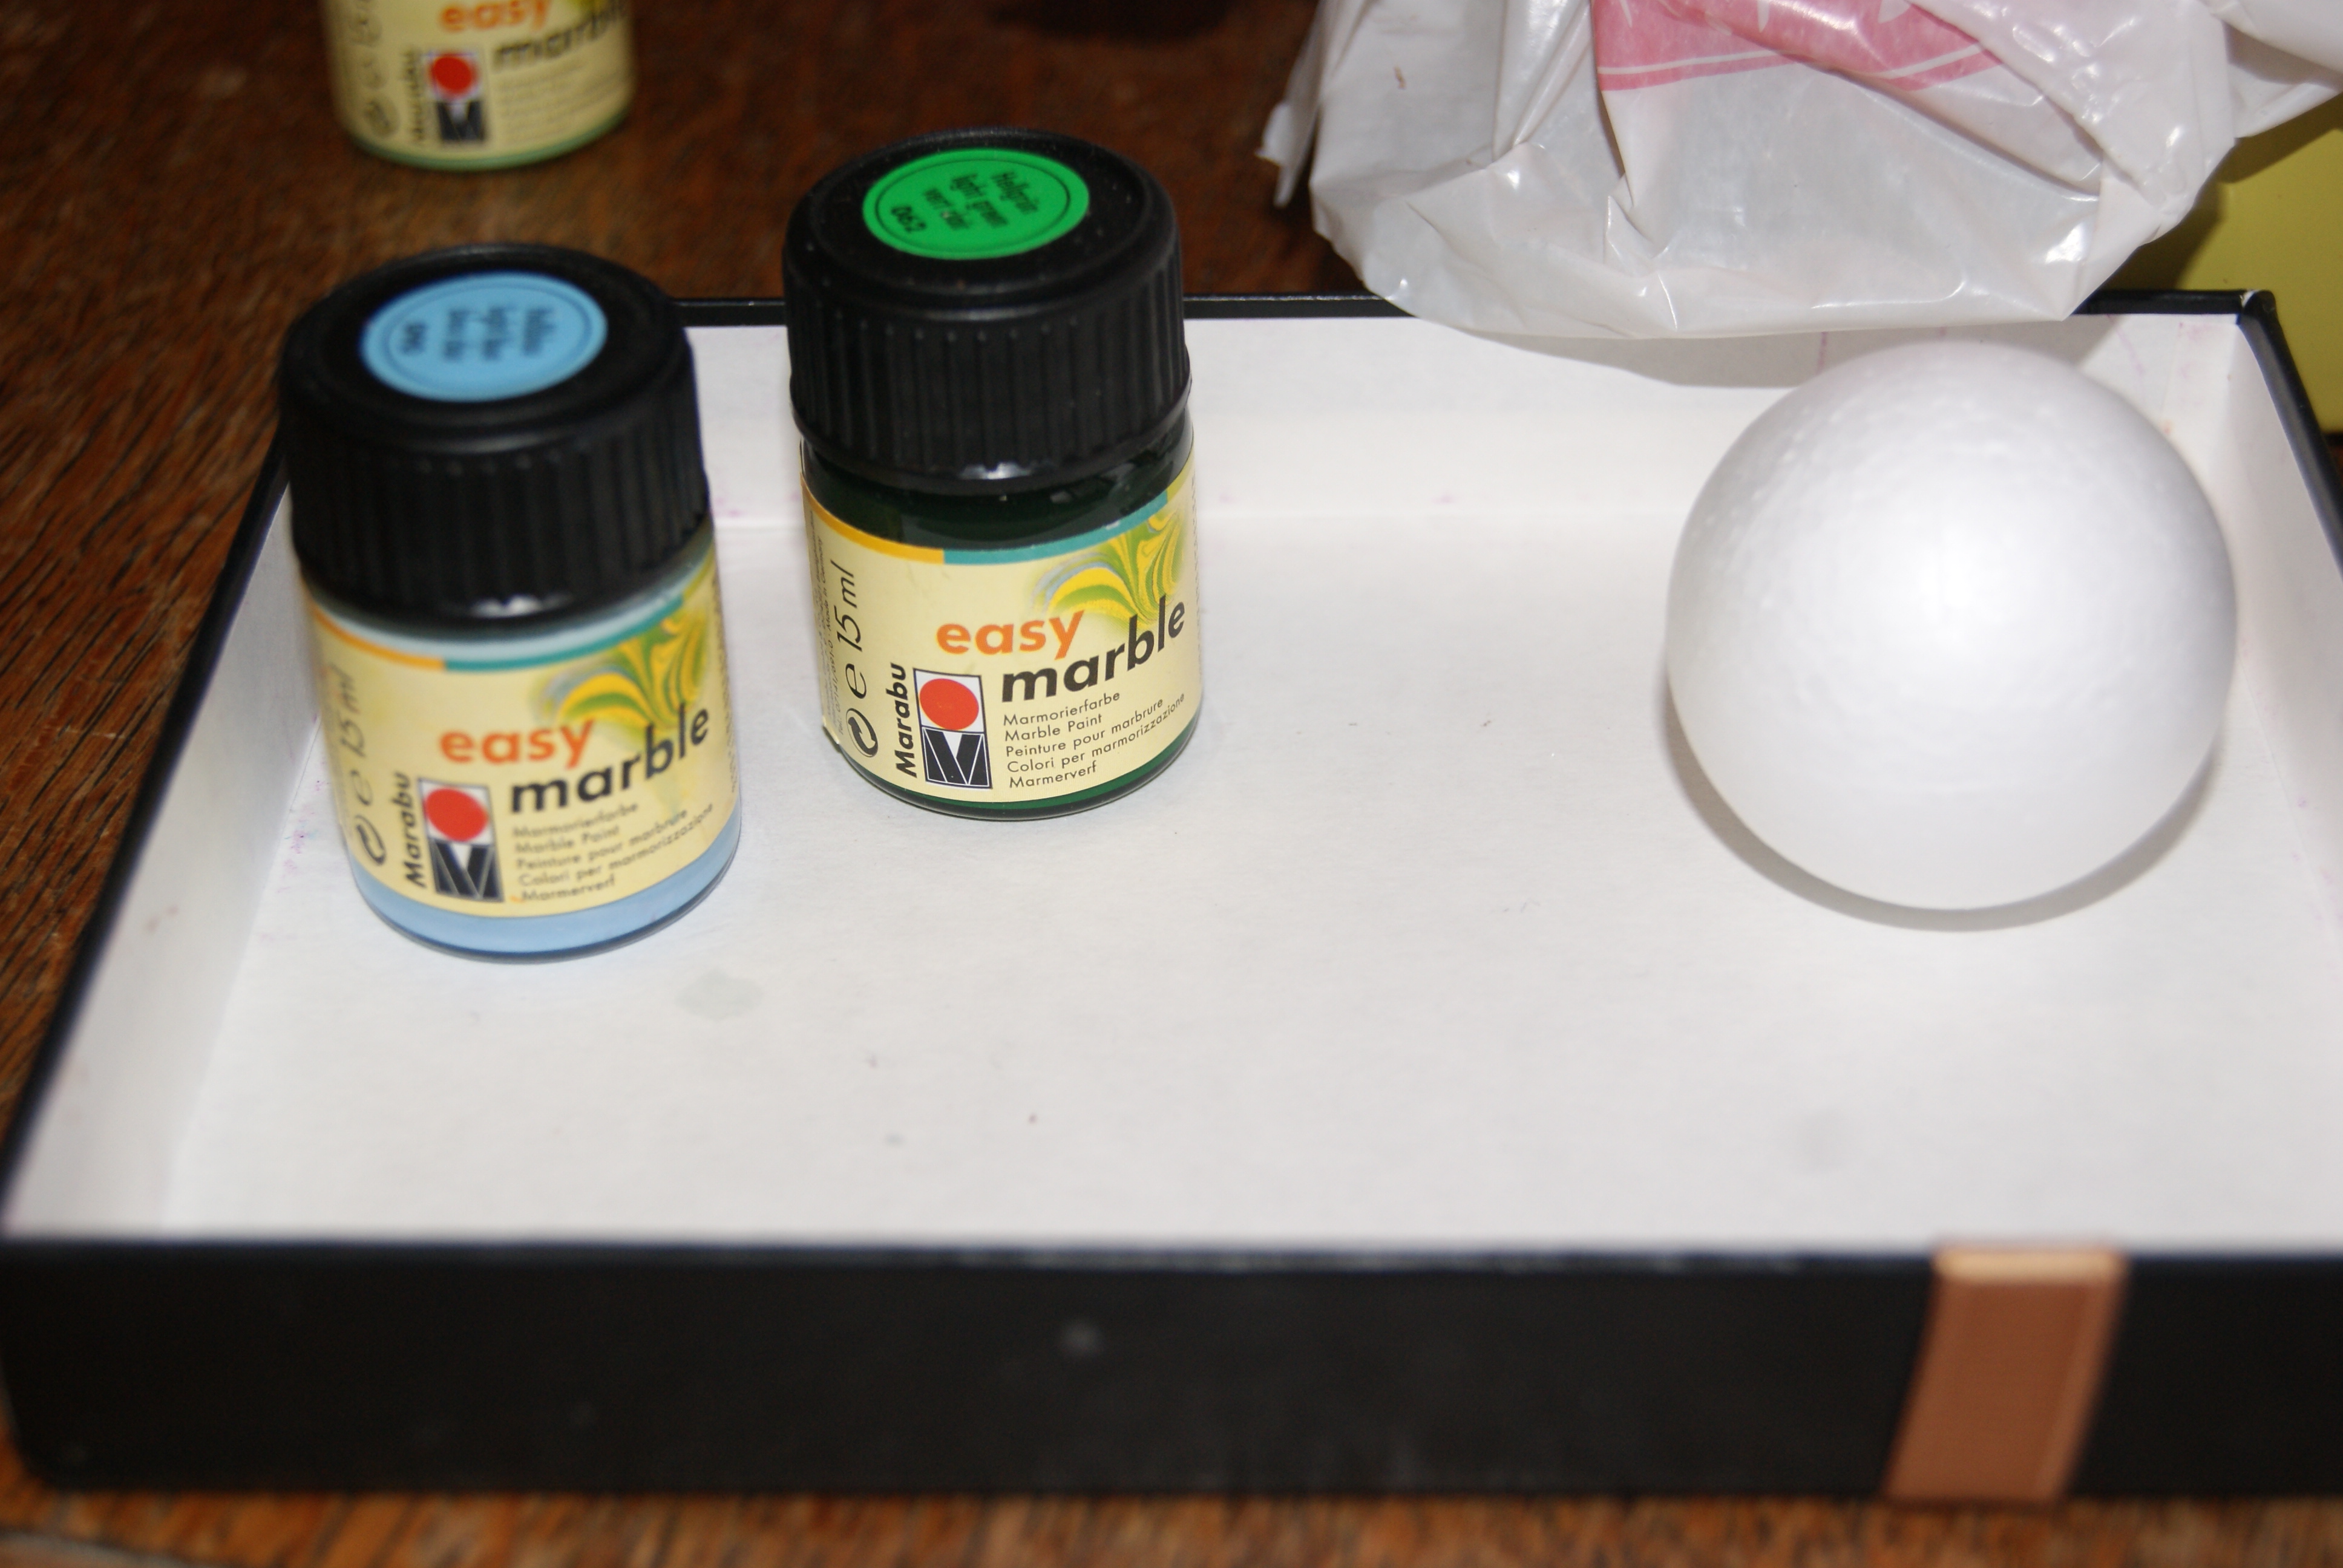
Boys were choosing colours – you need special marble colours, we used Easy Marble from our local craft shop. Make sure you shake them well before using!
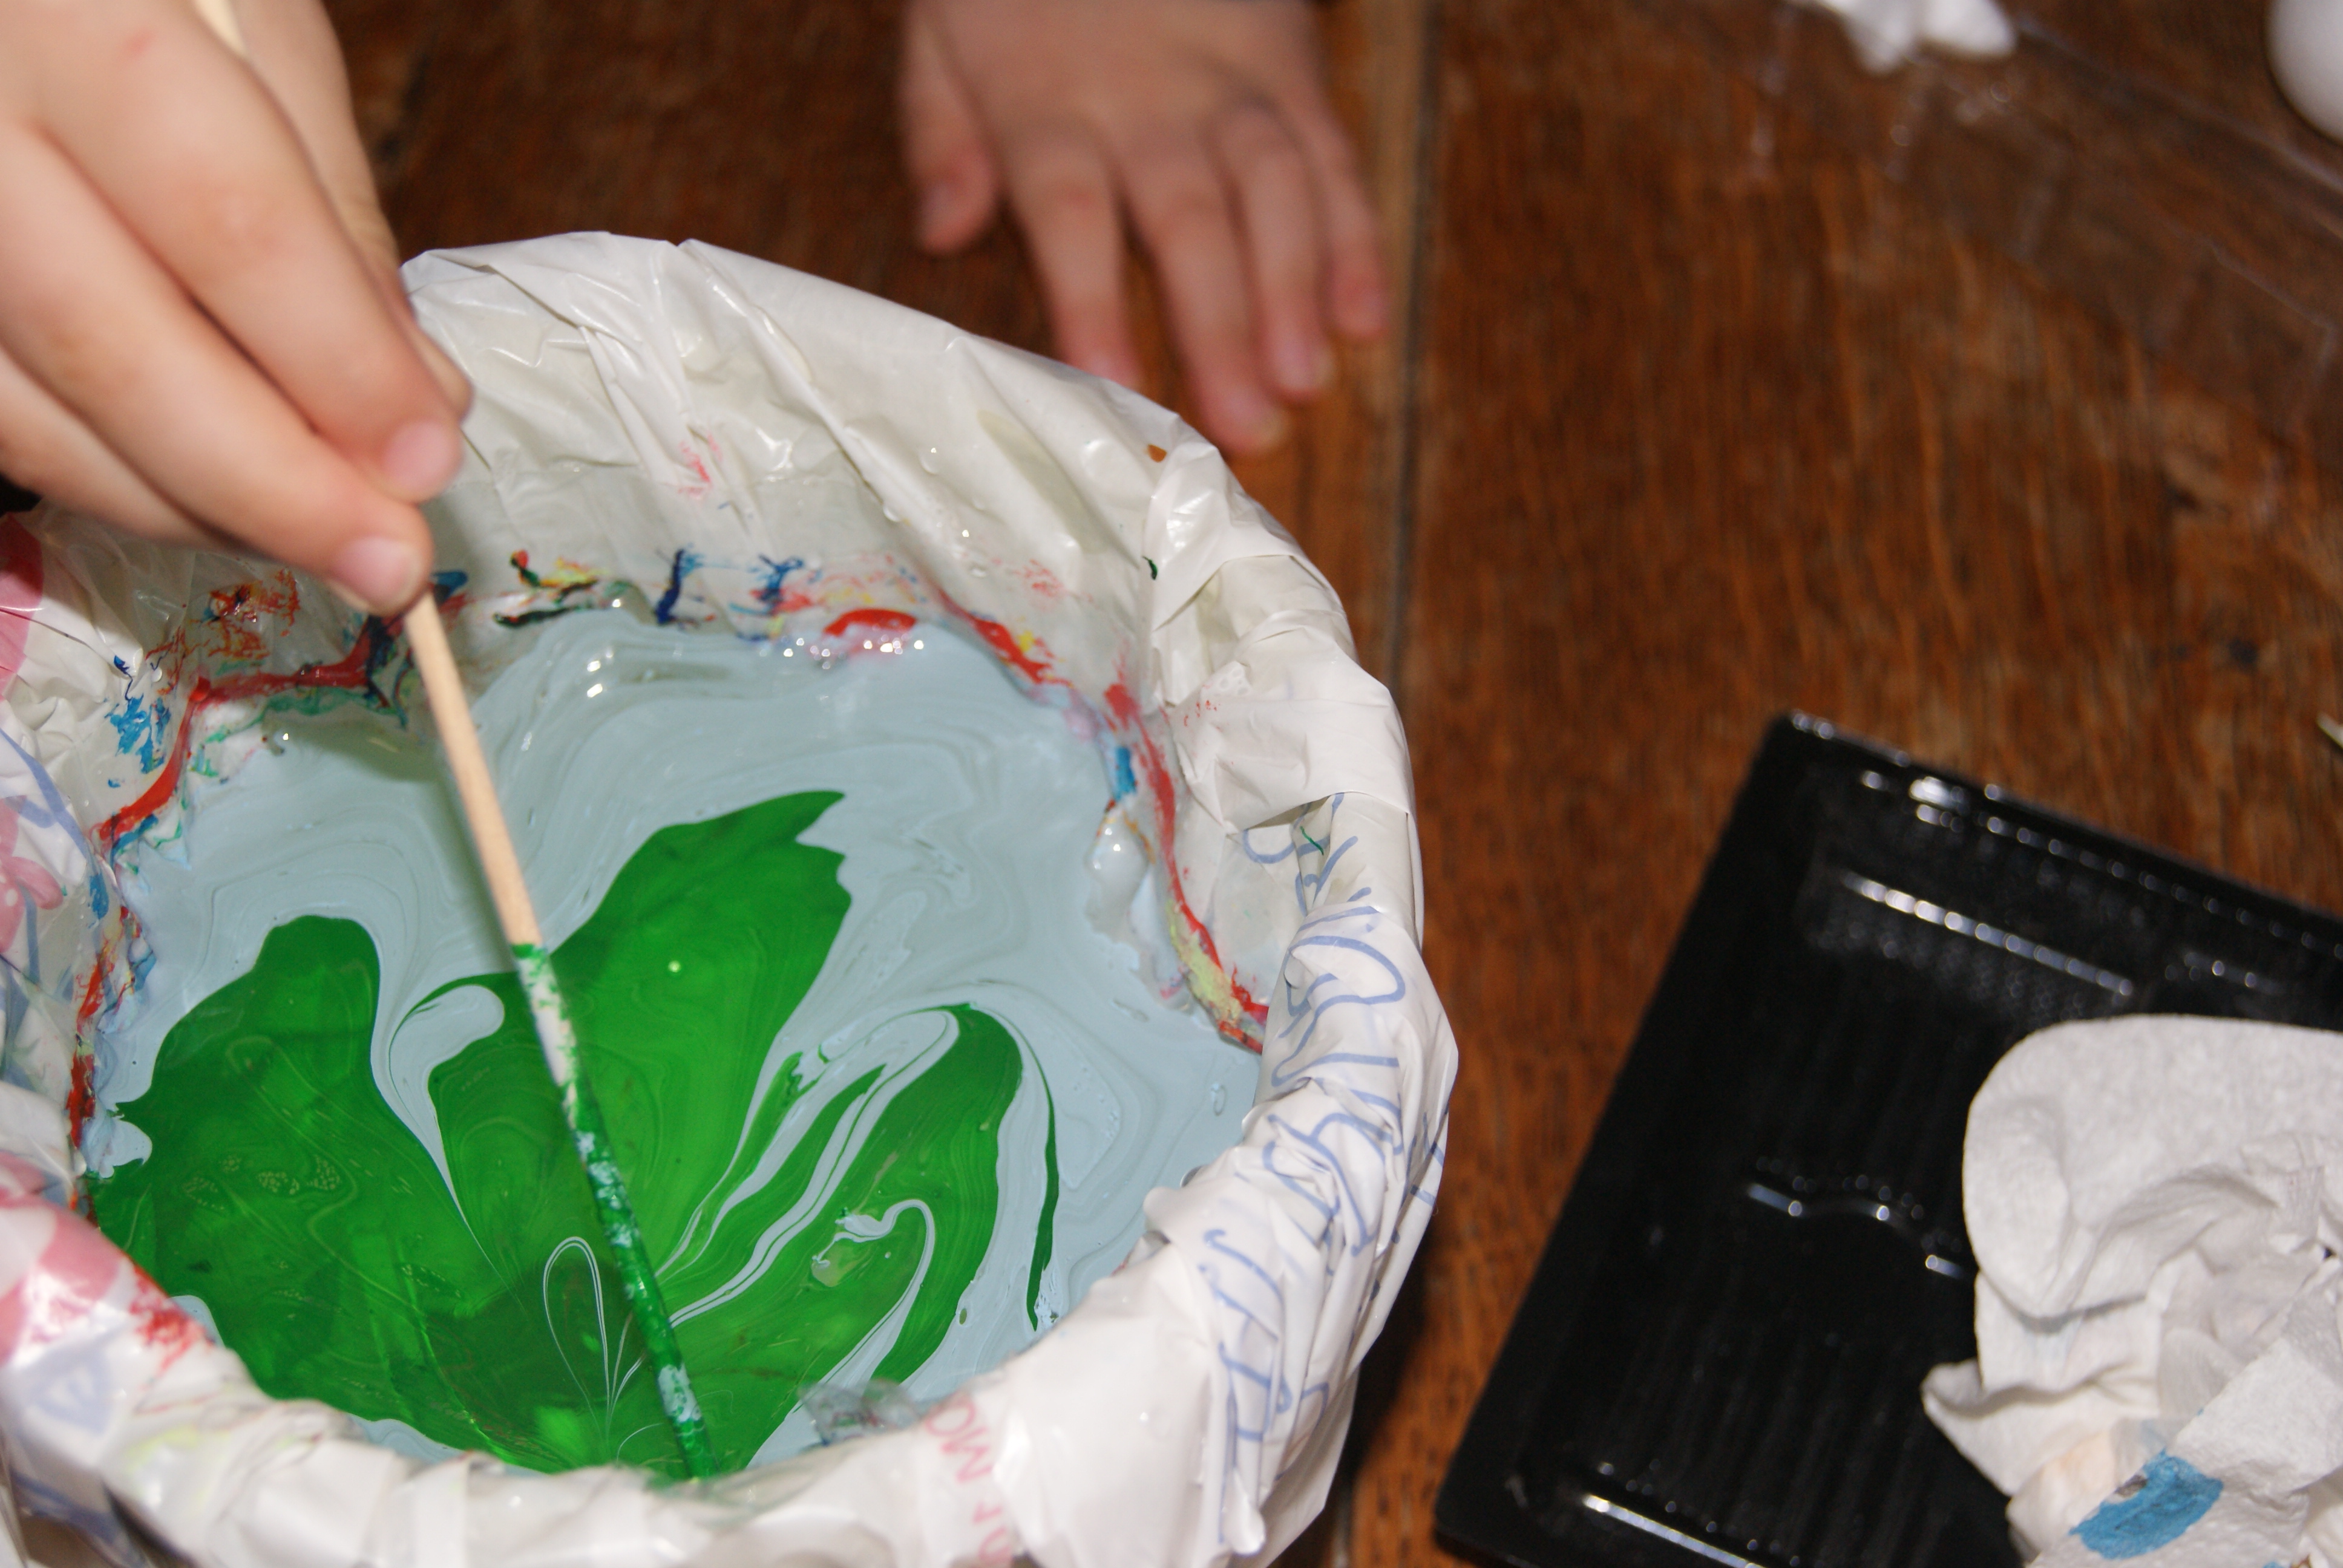
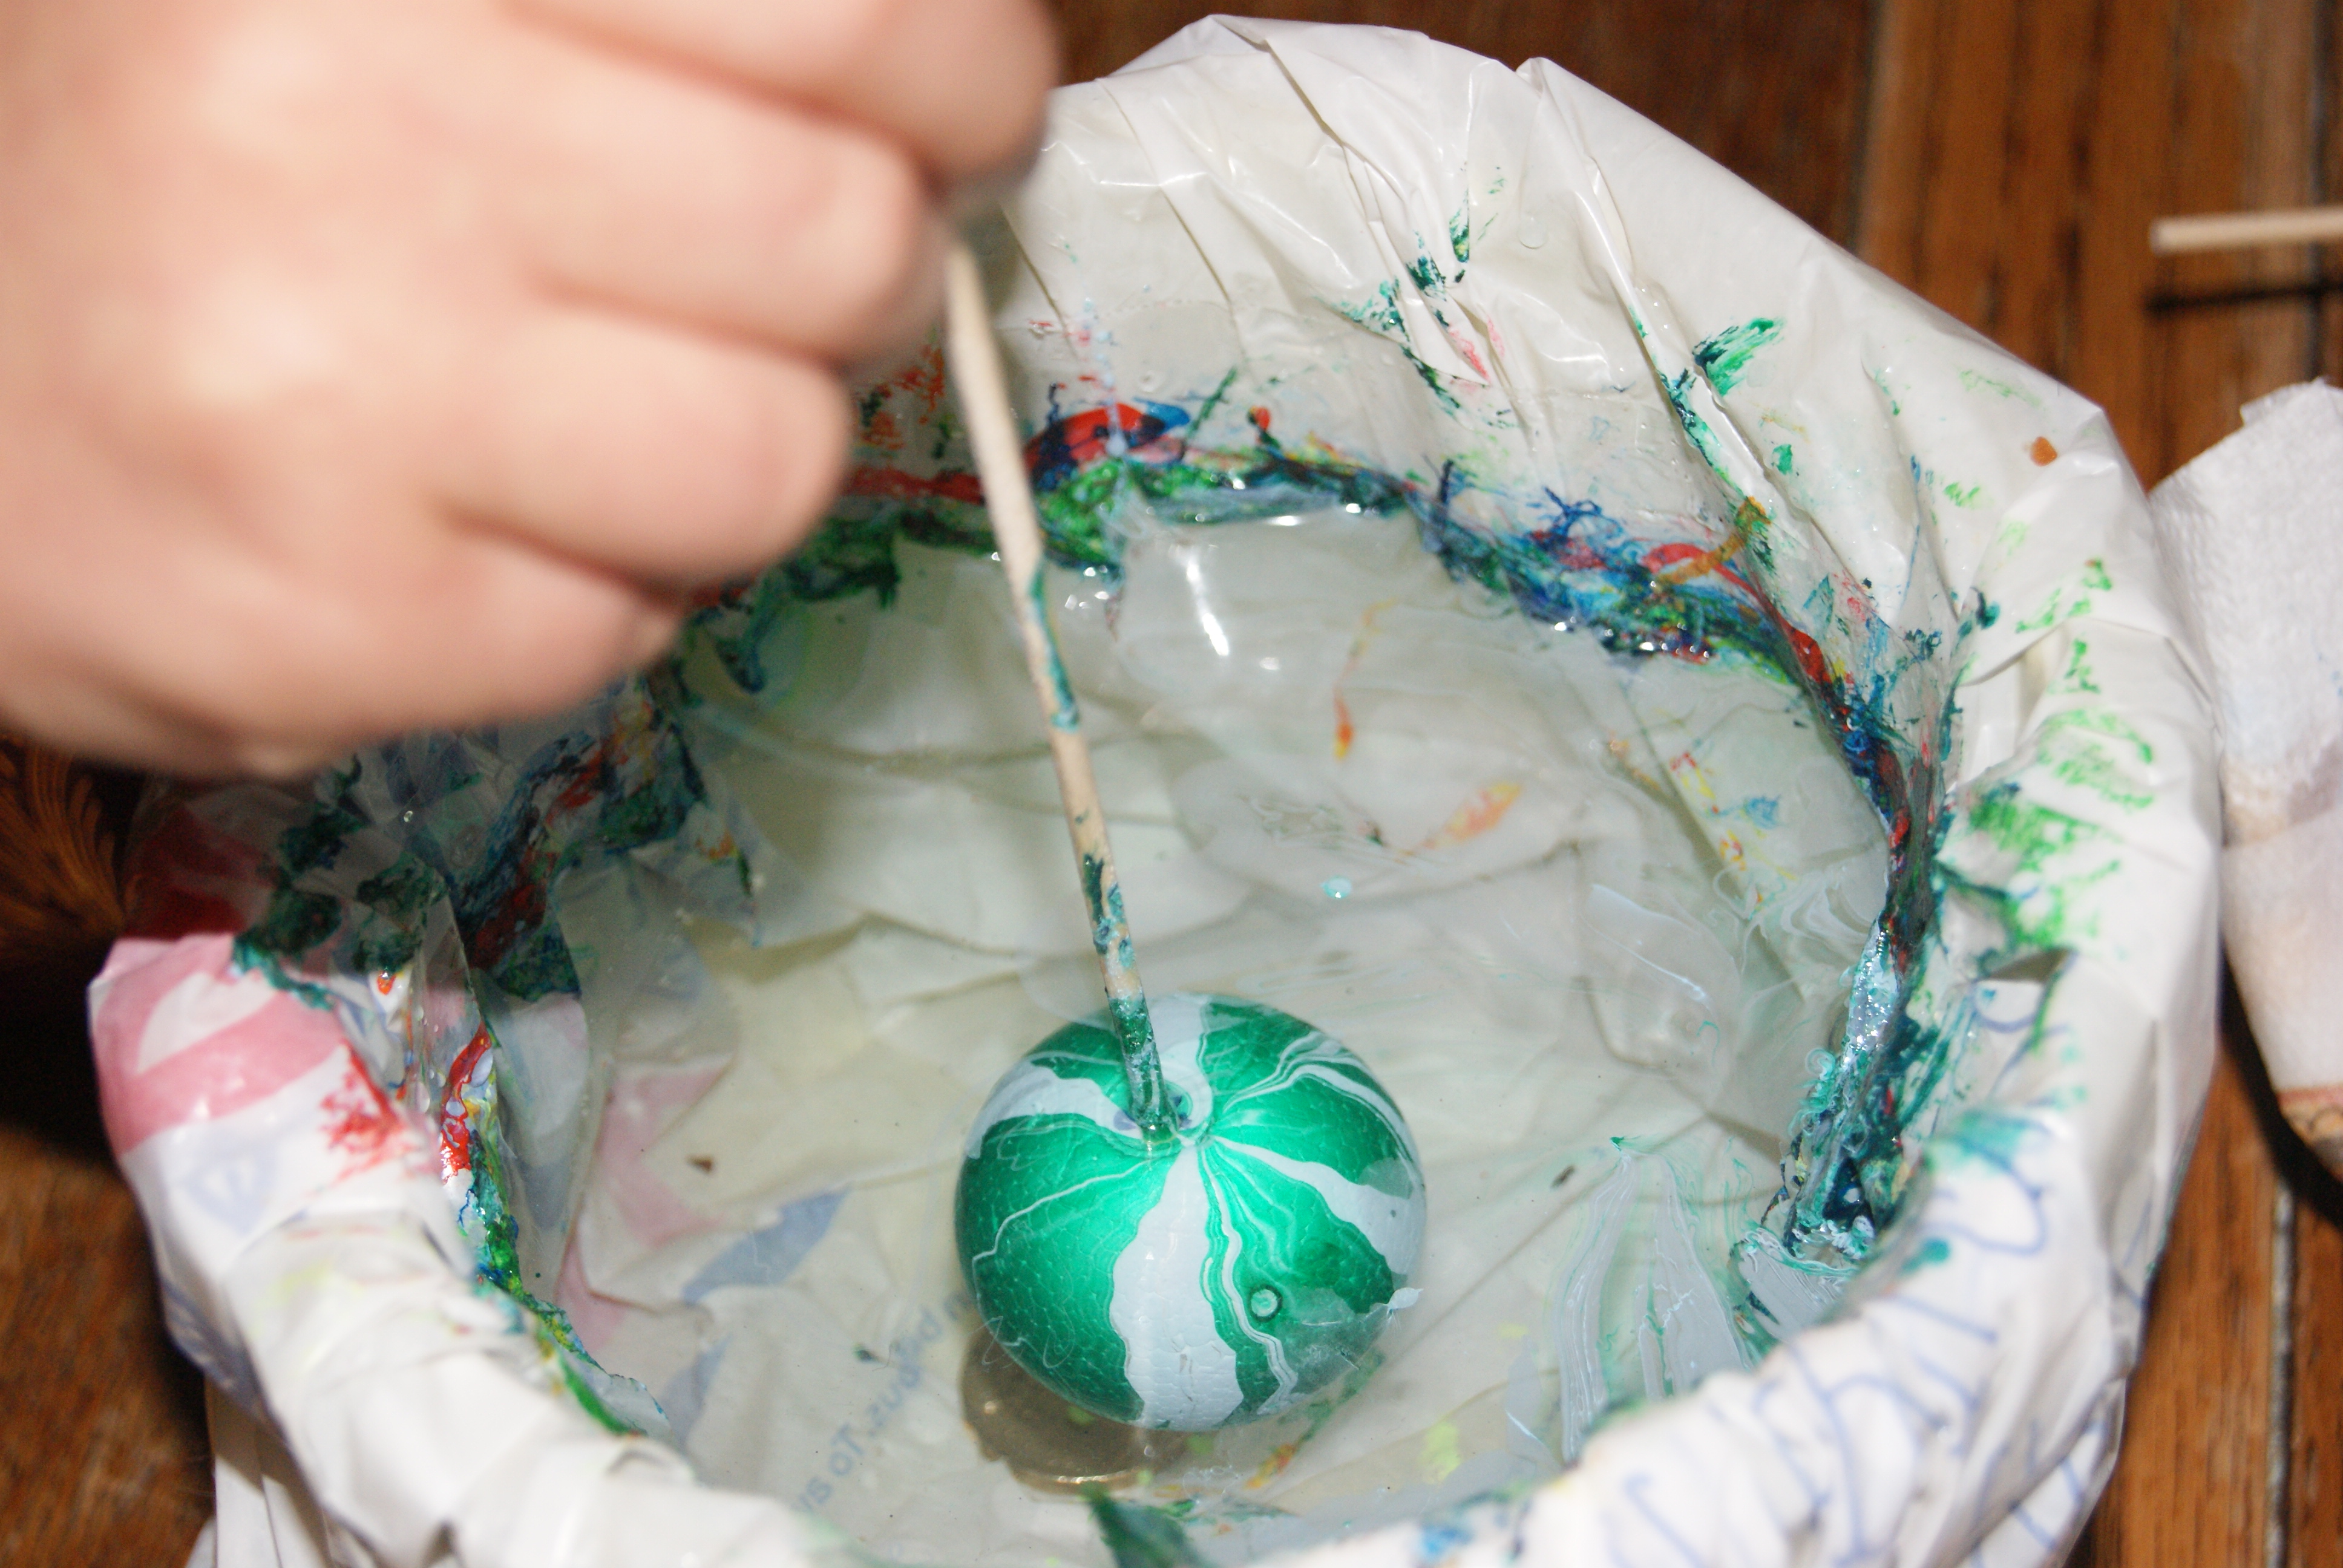
I dropped the colours into the water as the boys directed (Tip: I put a plastic bag in the container before adding water to save me cleaning after the project)

then they created pattens by slowly dragging colours into each other in different directions with a wooden pointed stick
Then they pierced a wooden stick into the polystyrene stars and balls and dipped (slowly or rather quick to achieve different effects) into the water

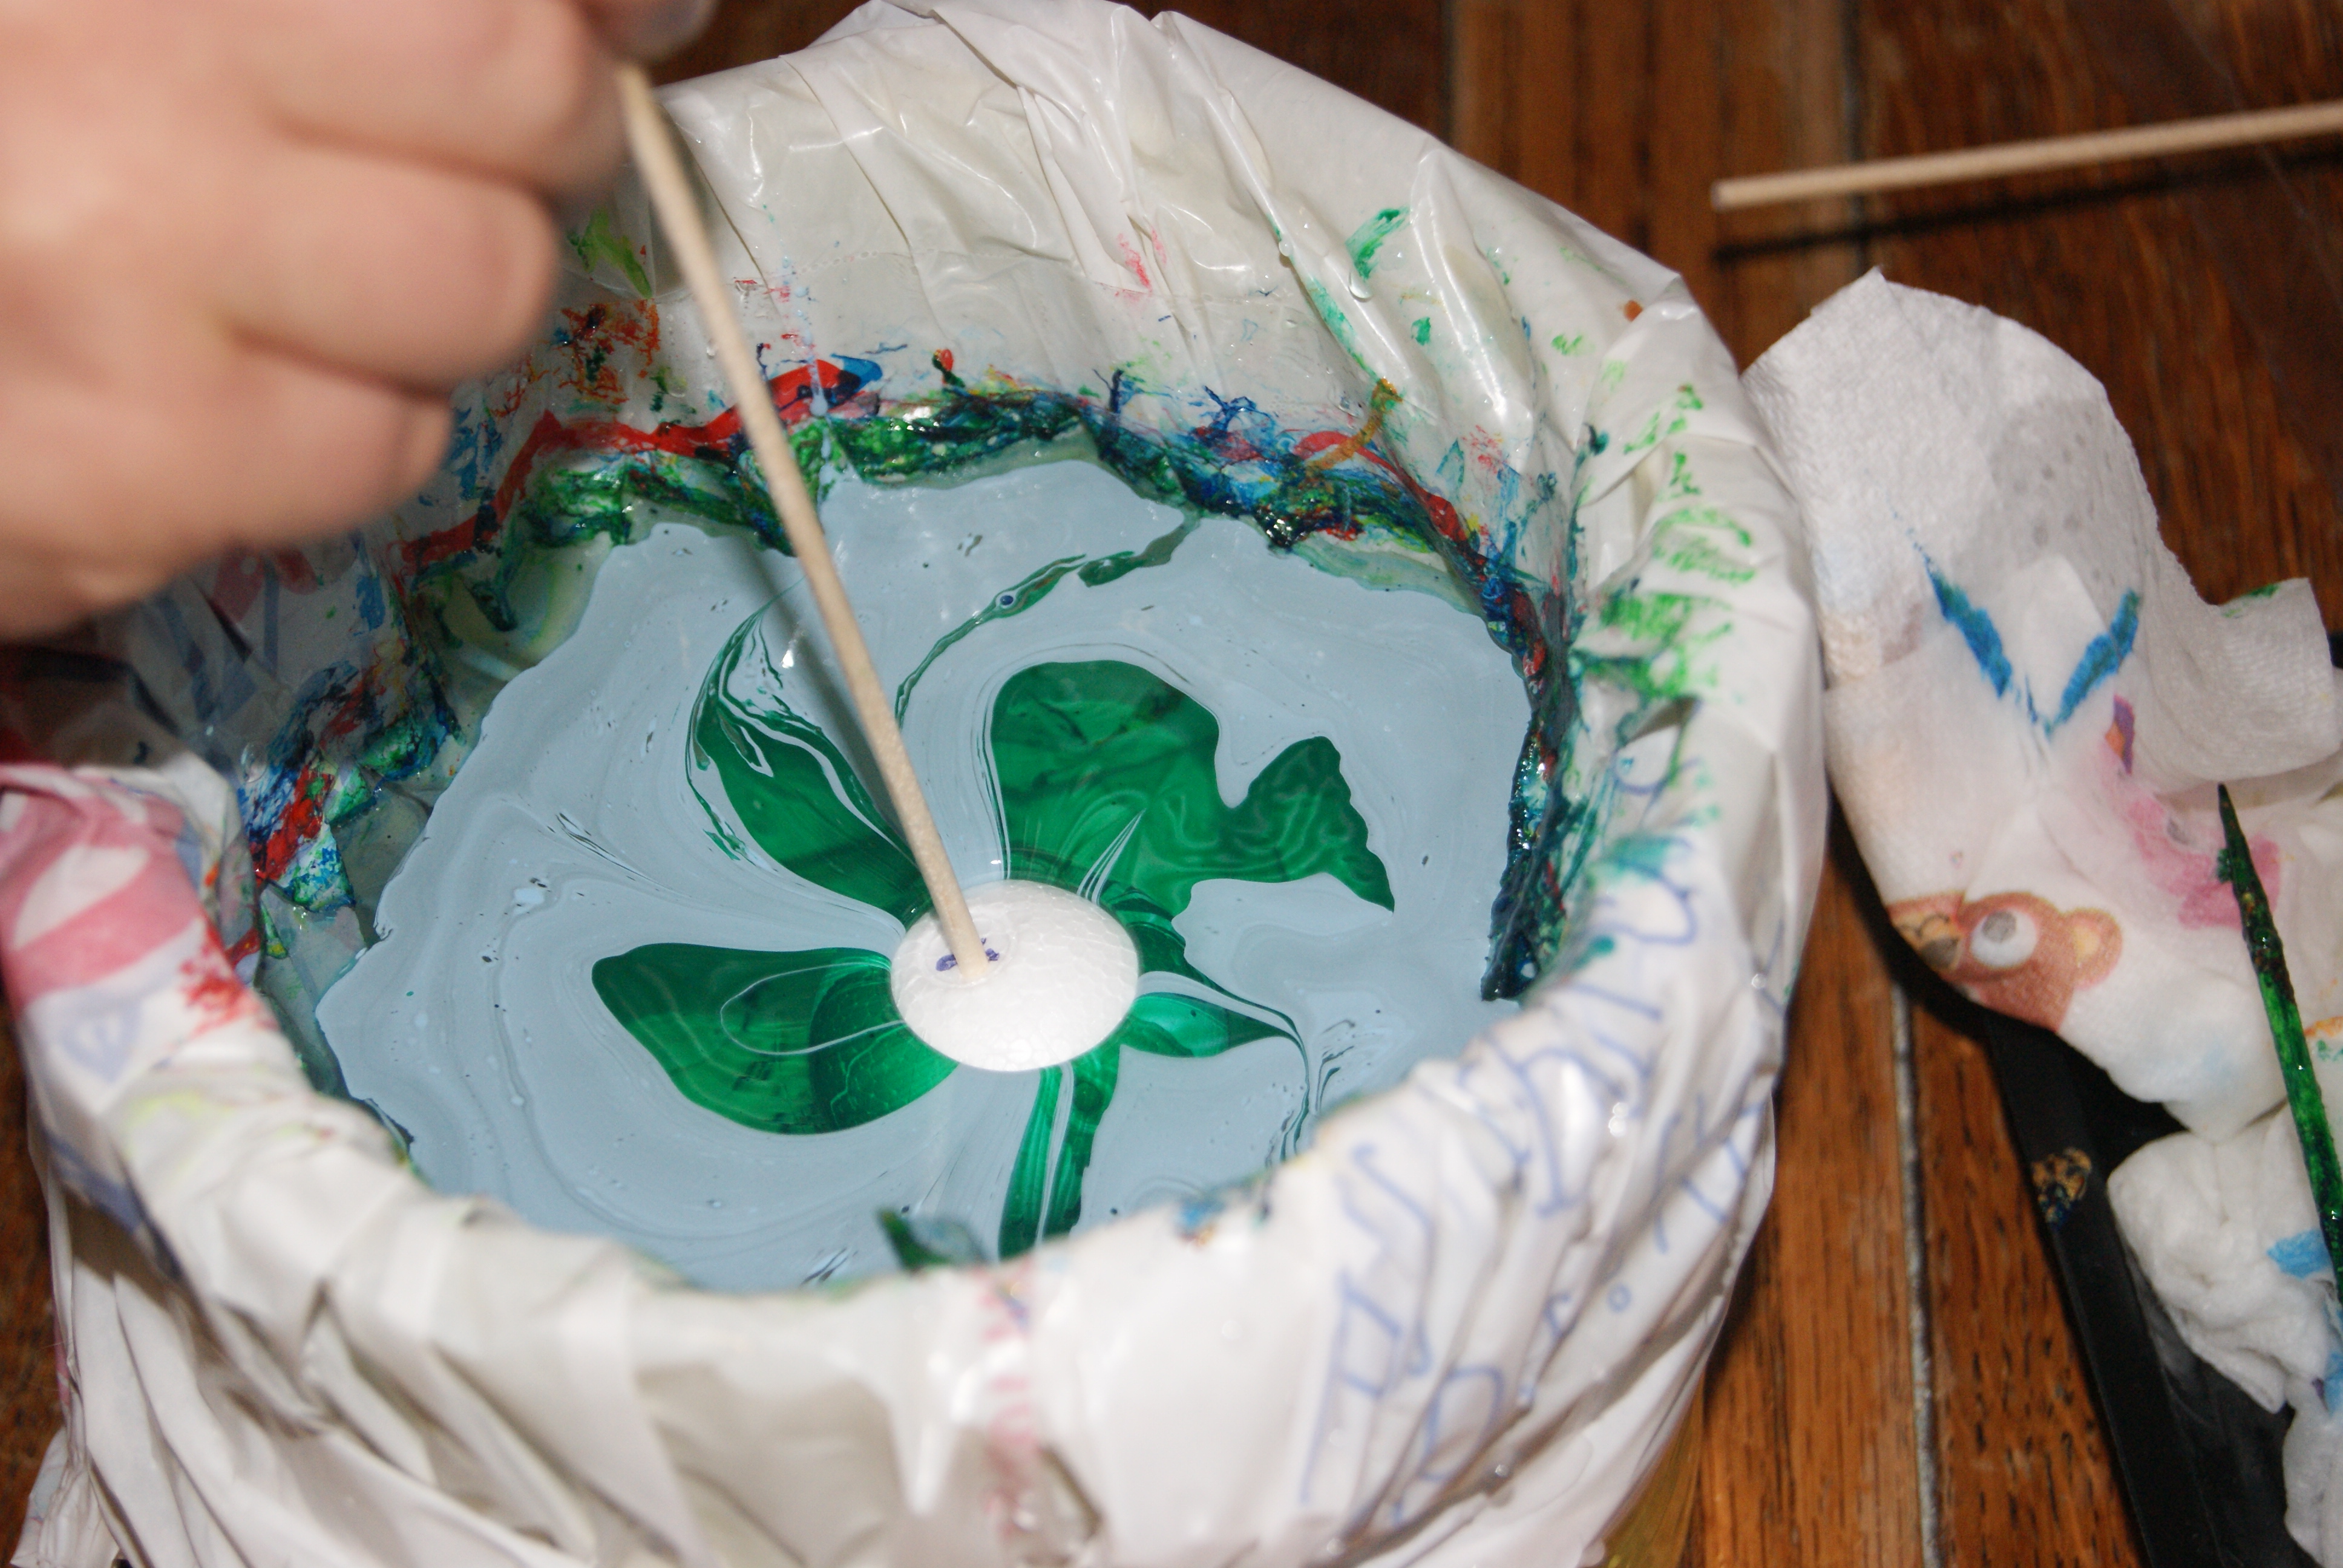
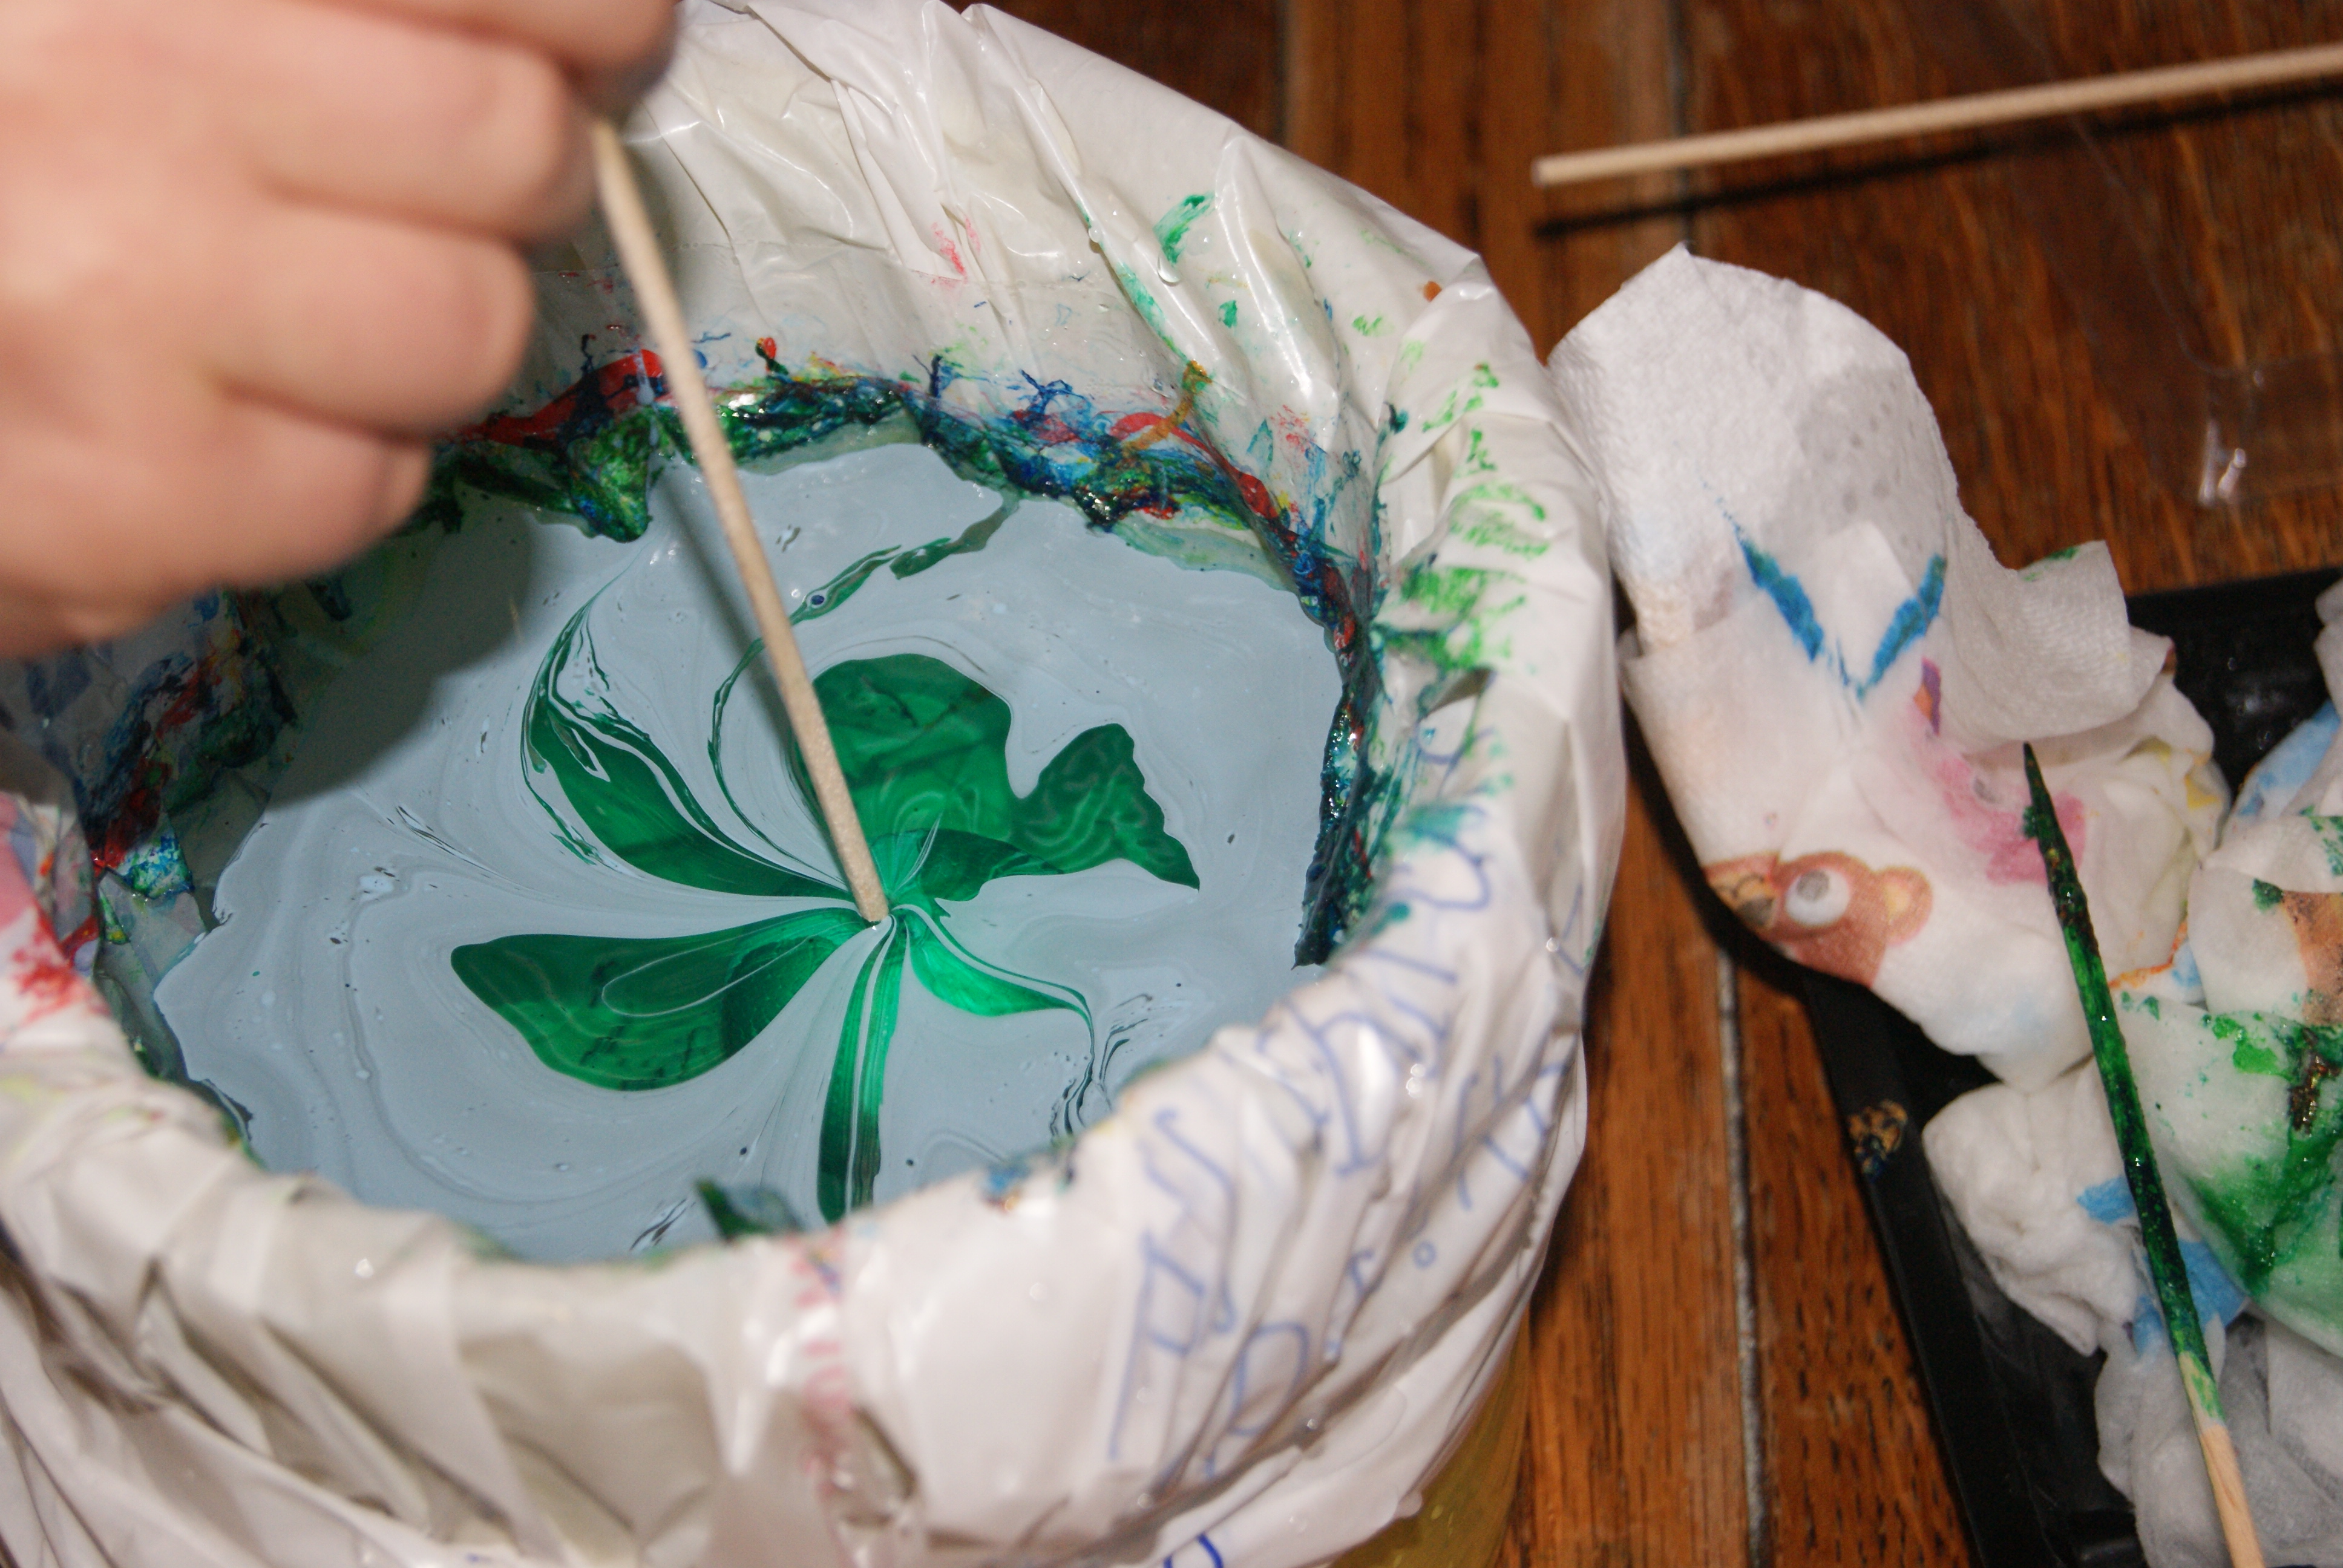
Once the whole object (star or ball) was under the water I dragged away the remaining paint on the water surface to prevent it covering the first design with a piece of card …
And then the project was taken out off the water revealing its uniqueness to our amazement!

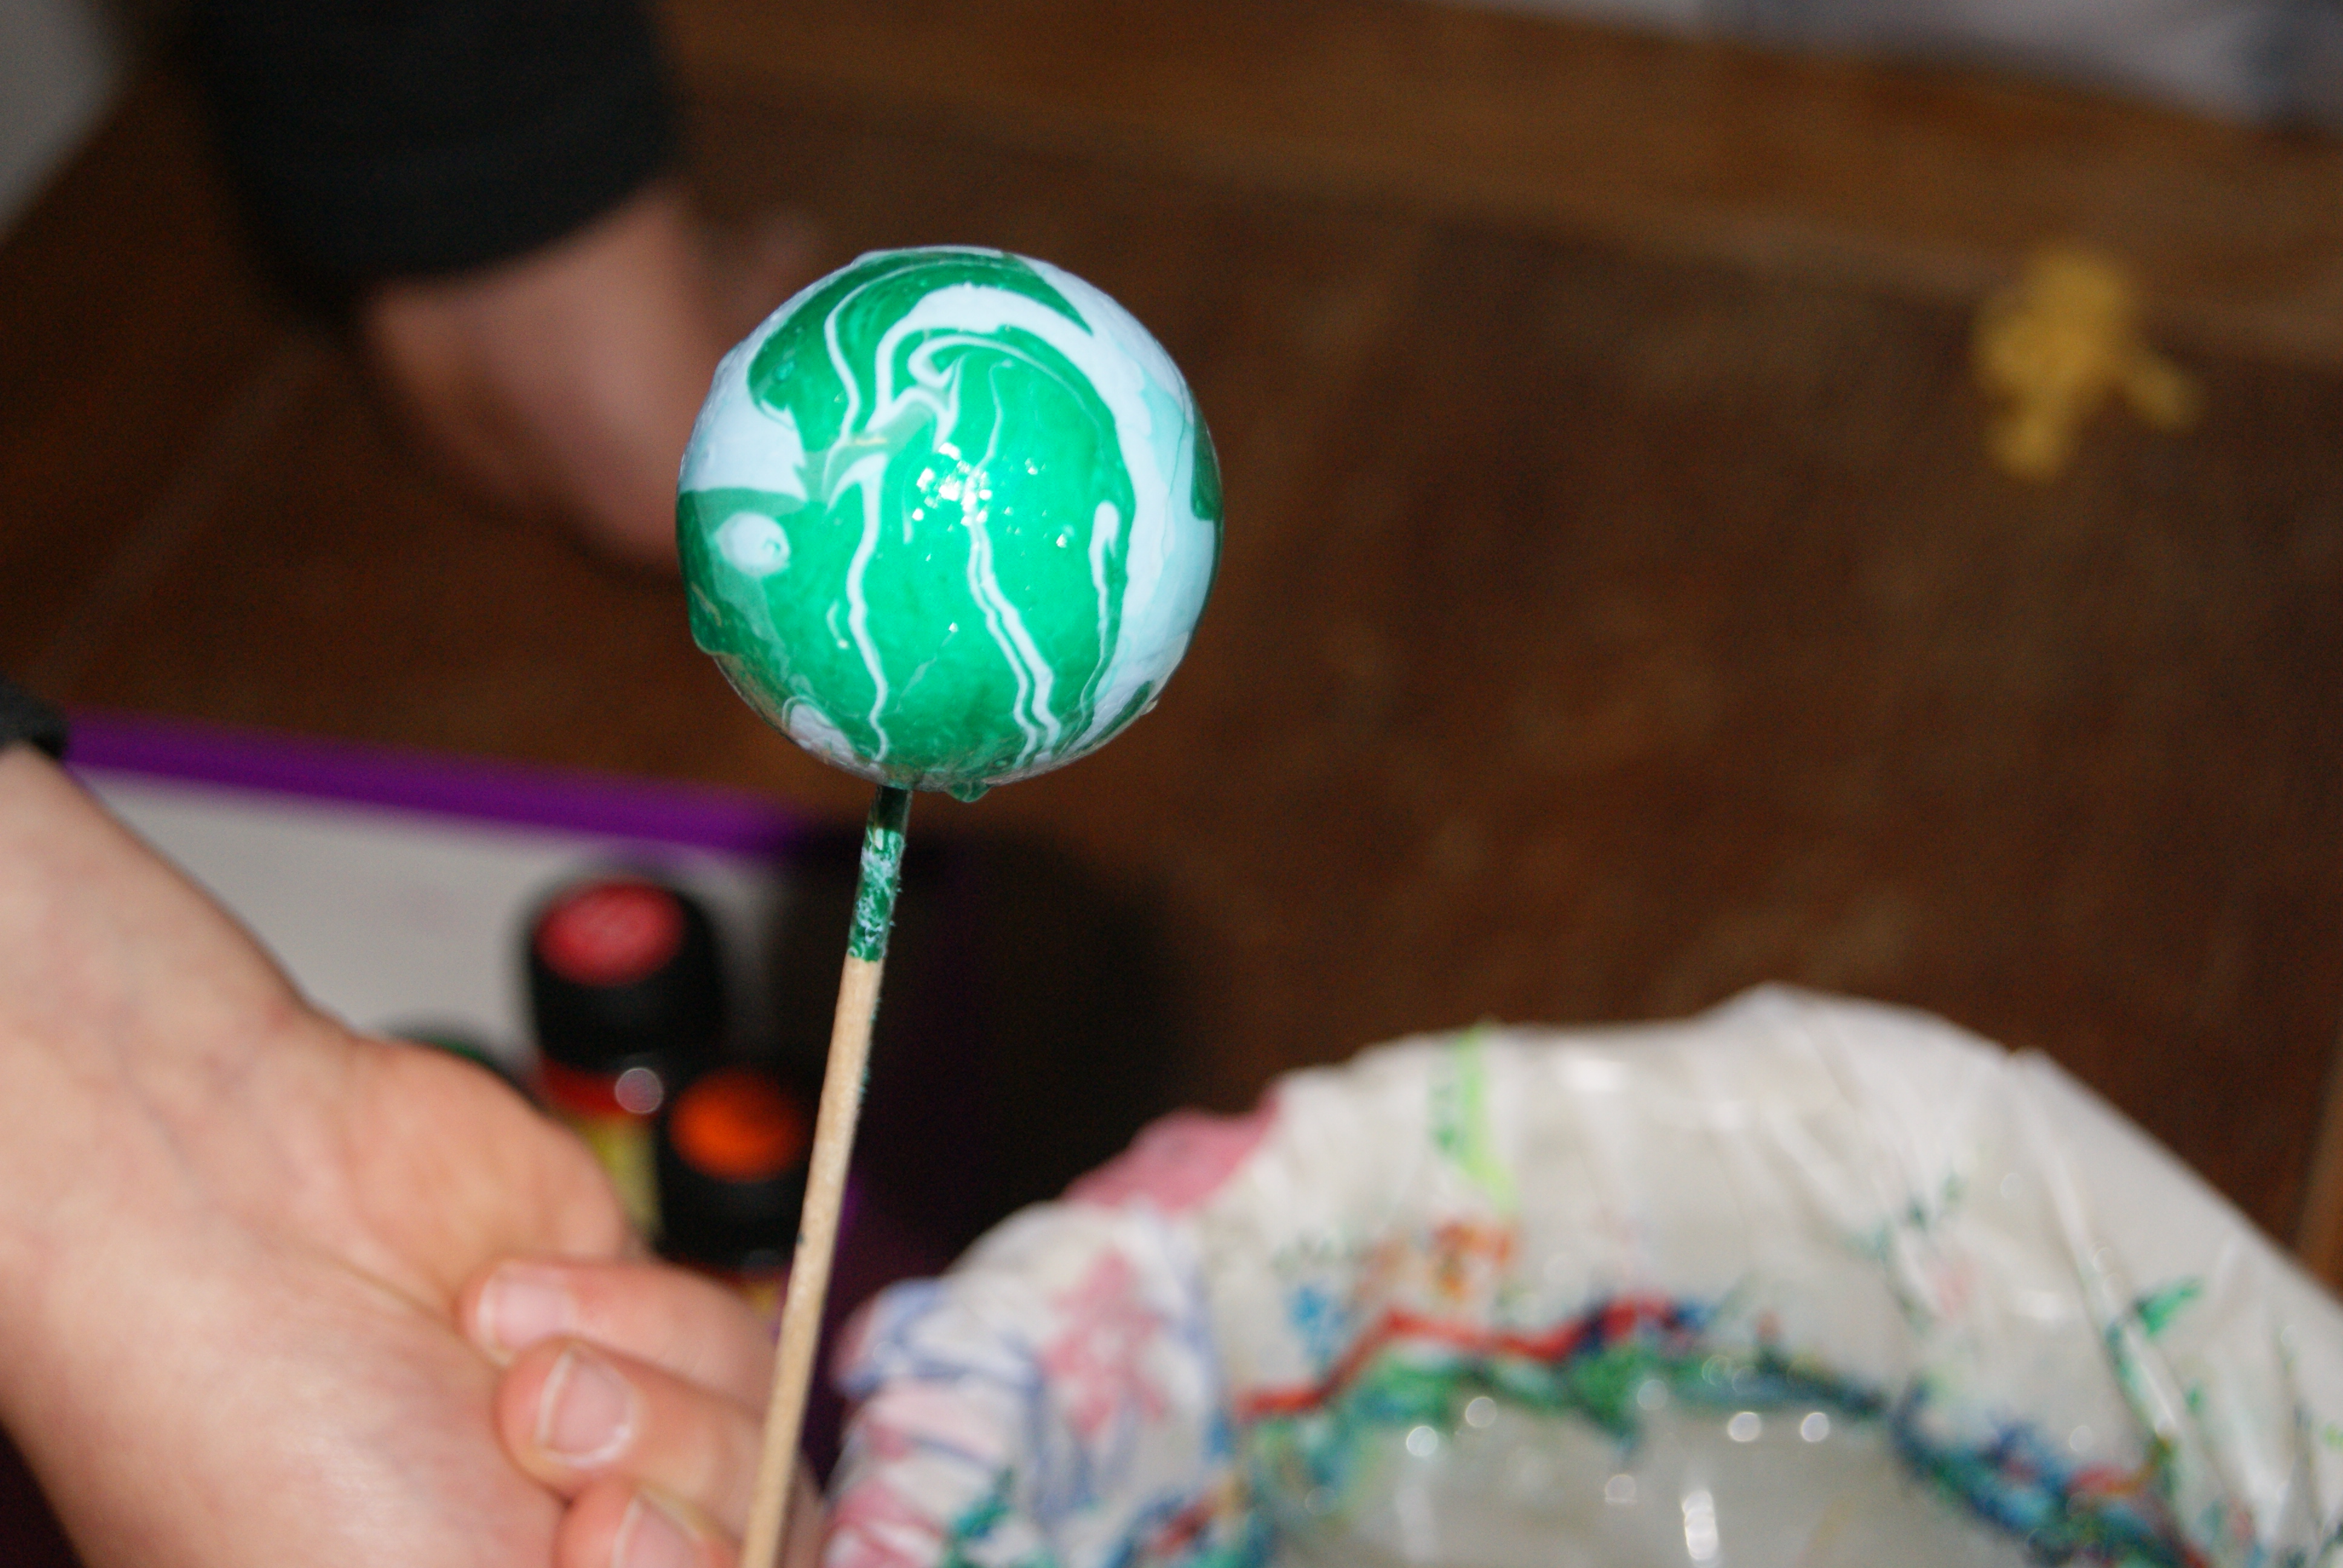
We have learned that although all of us might take the same set of colours – we always get a unique result – that reminds me people – we can grow in the same family have the same upbringing, go to the same school, even be twins – but we will never be the same – each of us is unique!
For the marbling project you will need:
- a container (a bucket or a vase or a bowl which you happy to invest for the craft – we actually used a flower pot) the size should be determined by the size of your polystyrene stars or balls. Fill the container with water.
- the marble paints you would like to use for your project
- a wooden or metal sticks – we used wooden Kebab sticks
- a piece of card suitable for the size of your container to clear the surface from remains of colours. We also used some kitchen rolls to help to collect some pains from the surface of to clean wooden sticks
- polystyrene stars and balls
- something to place your finished product while drying – we used a grater and Ikea’s candle lanterns
Enjoy marbling!

One Comment Add yours